Mending Matters!
A stitch in time saves, well . . . your clothes!
I think that one of the most valuable lessons any vintage clothing collector or seller learns is just how important it is to mend you clothes as soon as you see a problem. This helps you avoid larger, more time consuming, and sometimes more expensive issues down the road. Beyond that, caring for your pieces is essential if you want to keep them a part of your wardrobe. Let’s face it, vintage clothing is often delicate and these pieces are often very unique or even one-of-a-kind. Mending is not only a necessity to keep the pieces looking their best and wearable, but also a responsibility to ensure these beautiful vintage pieces continue on for decades and generations to come.
How else do you think these vintage pieces have been around so long? It’s usually not by chance! Many pieces have already been tended by their prior owners before being passed onto us. However, in order to keep vintage clothing wearable and looking fresh, you need to first accept that something WILL happen. It is inevitable. The best thing to do is address the issue before it gets bigger.
Unfortunately, mending is something that many people do not practice. Perhaps it’s because we were never taught or maybe the nature of the consumptive fashion industry conditions us to follow lightning quick trends, making it easier to simply discard something once its no longer pristine and fashionable — perhaps its both. The unfortunate truth is if we collectively keep up these habits, not only will we loose beautiful and timeless pieces of clothing but we will only contribute more waste to the already problematic fashion industry. But learning very basic mending or even finding a local alterations business if you really, truly can’t sew can help you save your clothes!
My largest pup, loves to come into my office to check up on what I am doing.
The Most Common Problems
Let me first start with saying I only take care of mending the easier issues pertaining to items for my shop. I am very self critical of my sewing abilities and only use my own pieces for learning and trying out new techniques. In cases where I am not confident in fixing an item for the shop, I will always outsource to my lovely alterations lady down the road. She does excellent work for a fair price.
That being said, I see a lot of problems with clothing. Occasionally there will be something wrong with a hem or zipper, or things that require more substantial repair. But by far the most common problems I see are seam pops and missing buttons. While it may seem daunting to some, I promise that learning how to mend these types of issues on your own is not too difficult. I picked these skills up pretty quickly a decade or so ago out of necessity while traveling . . . let’s just say it was either learn to sew or spend money I didn’t have on new clothes. Pro Tip: ALWAYS travel with a sewing kit!
If you are new to mending, I highly recommend watching some youtube videos to help you out. Since popped seams and buttons seem to be the most common issue, I would start there. Of course, your wardrobes issues will dictate the direction within in which you must go. There is also a pretty awesome community of menders online too. You just have to find your style- some people have a more traditional hidden technique while others are more obvious, turning huge flaws into beautiful pieces of artwork.
Do as I say, not as I do . . .
I mend EVERY SINGLE DAY for my shop (or my dogs stuffed toys . . . ). I am typically so tired and my eyes so strained at the end of the day that I can’t bring myself to fix my own clothes too. As such, my own wardrobe has been neglected over the past few months, leaving me with very little to wear as well as an increased since of guilt and dread as I have just let my personal mending pile grow ever larger. Don’t do what I did . . . you will regret it!
This issue eventually grew to the point where I could not wear any of my favorite vintage pieces for fear that their problems would only get worse. So, over the past few weeks, I decided to set aside a little bit of time each day to prioritize my own vintage clothing collection over my shop inventory. A little bit here and there really did help me tackle what would have otherwise been a daunting project. Hopefully, I can inspire you to tackle your own “death pile” — what we vintage sellers call our giant mending piles.
Mending my “Death Pile” . . .
As mentioned before, it is important to tackle your mending issues before they become a problem. If you keep wearing something that has a minor issue (i.e. small hole, loose button, etc.) the problem will only get worse. This is where my “Death Pile” was born. I know better than to wear my vintage with issues, so I simply placed it in a “pile” (hung it in one section of my closet) to be worked on another day. The problem with that though is the pile only grew and grew. Thankfully I came to my senses and started to chip away at it, slowly but surely.
Below are just a few of the pieces within my own vintage clothing collection that I tended to over the past few weeks. My goal was to document a mix of things for you all, to give you a good idea of easier beginner mending tasks that you can learn to do on your own. While these may be easy, they make a HUGE impact on both your clothing’s look and wearability.
Project 1: Popped Seams
If you are new to mending my best tip is to learn the invisible stitch. This is probably one of the most common stitches I use. If you are unfamiliar with this method you can watch a quick demonstration HERE. This method is really pretty simple once you get a handle on it. Vintage garments will often already have a clear and established seam, so no need to iron as the video mentions. An added benefit, the seams tend to have tiny pin hole marks from the original thread which makes it an easy guide to follow as you stitch.
Project 2: Attaching Buttons
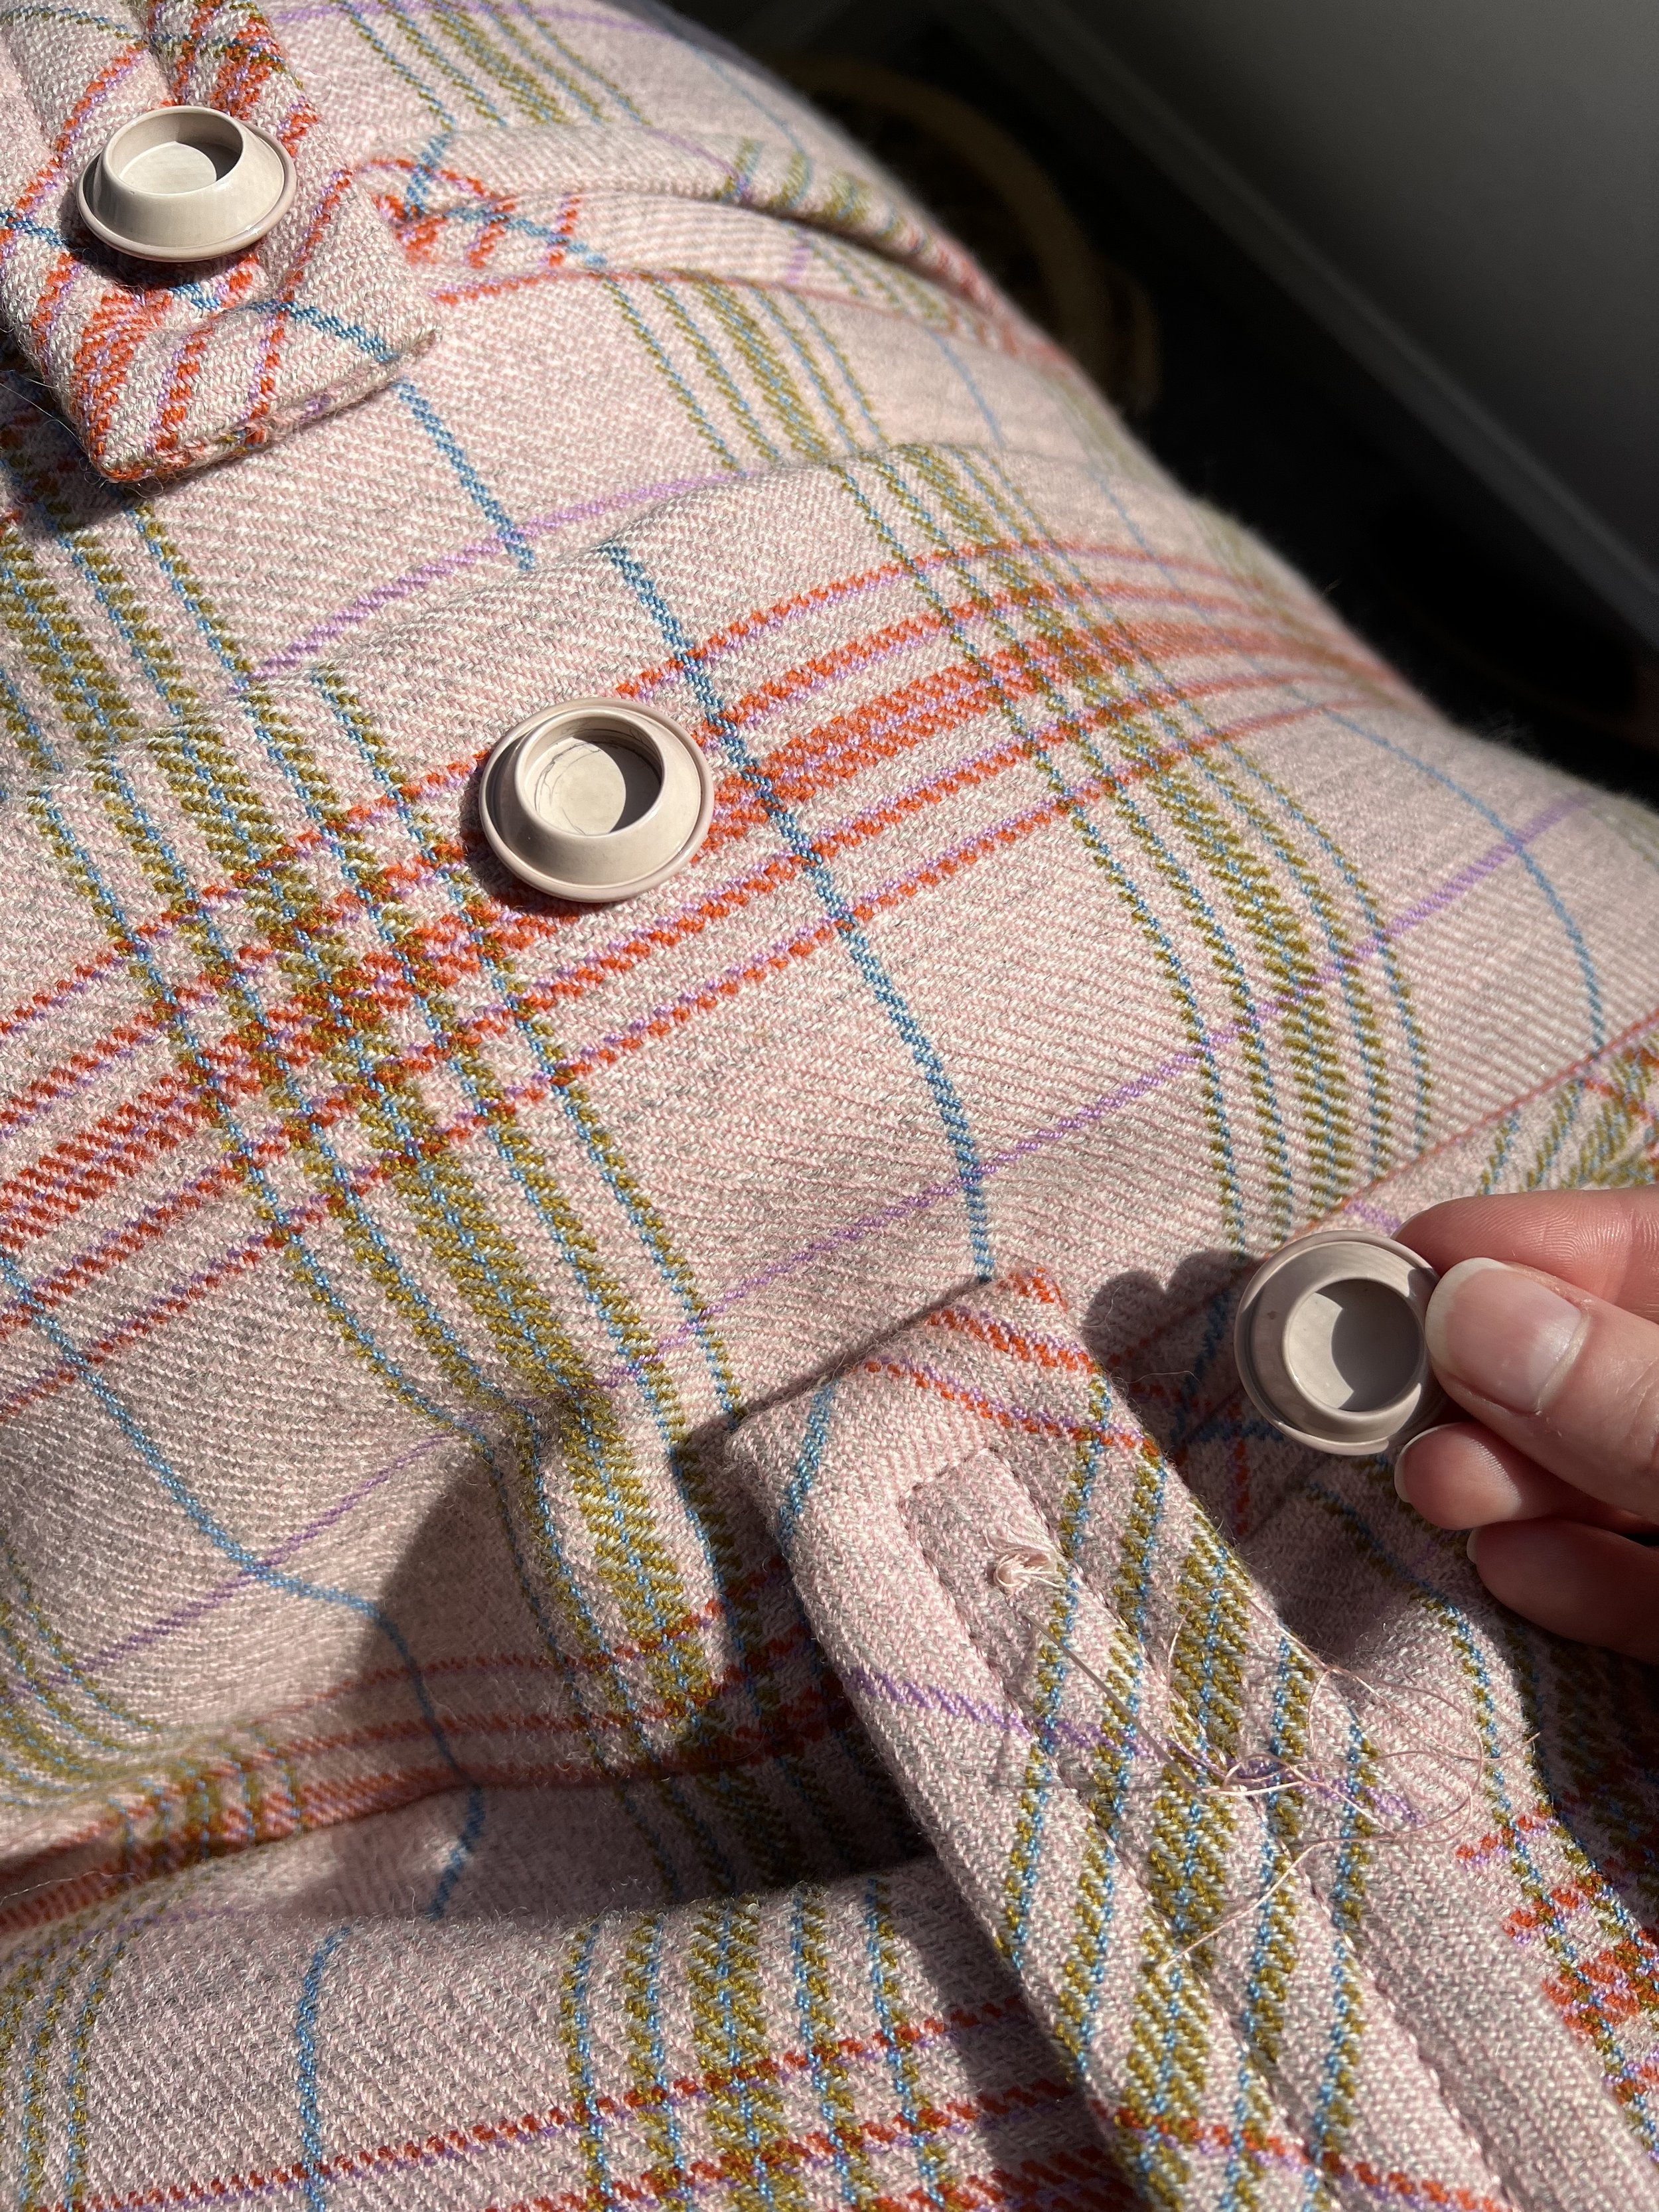
Learning how to sew or tighten your buttons is also important. You will find that as you wear your vintage treasures, buttons will often become loose. It’s important to tackle this before you loose a button as finding replacement period appropriate buttons can be very difficult. However if you do need vintage button replacements, there are options! Usually antique stores will have a decent selection of sets, but there are also a number of online stores that specialize in vintage buttons.
The types of buttons I deal with most are SHANK (these have a shank on the back to fasten it to clothes) followed by FLAT (usually has 2 to 4 holes to sew it to your clothes). If you are new to sewing buttons, watch this useful tutorial HERE.
Project 3: Replacing Lost Hook & Eyes
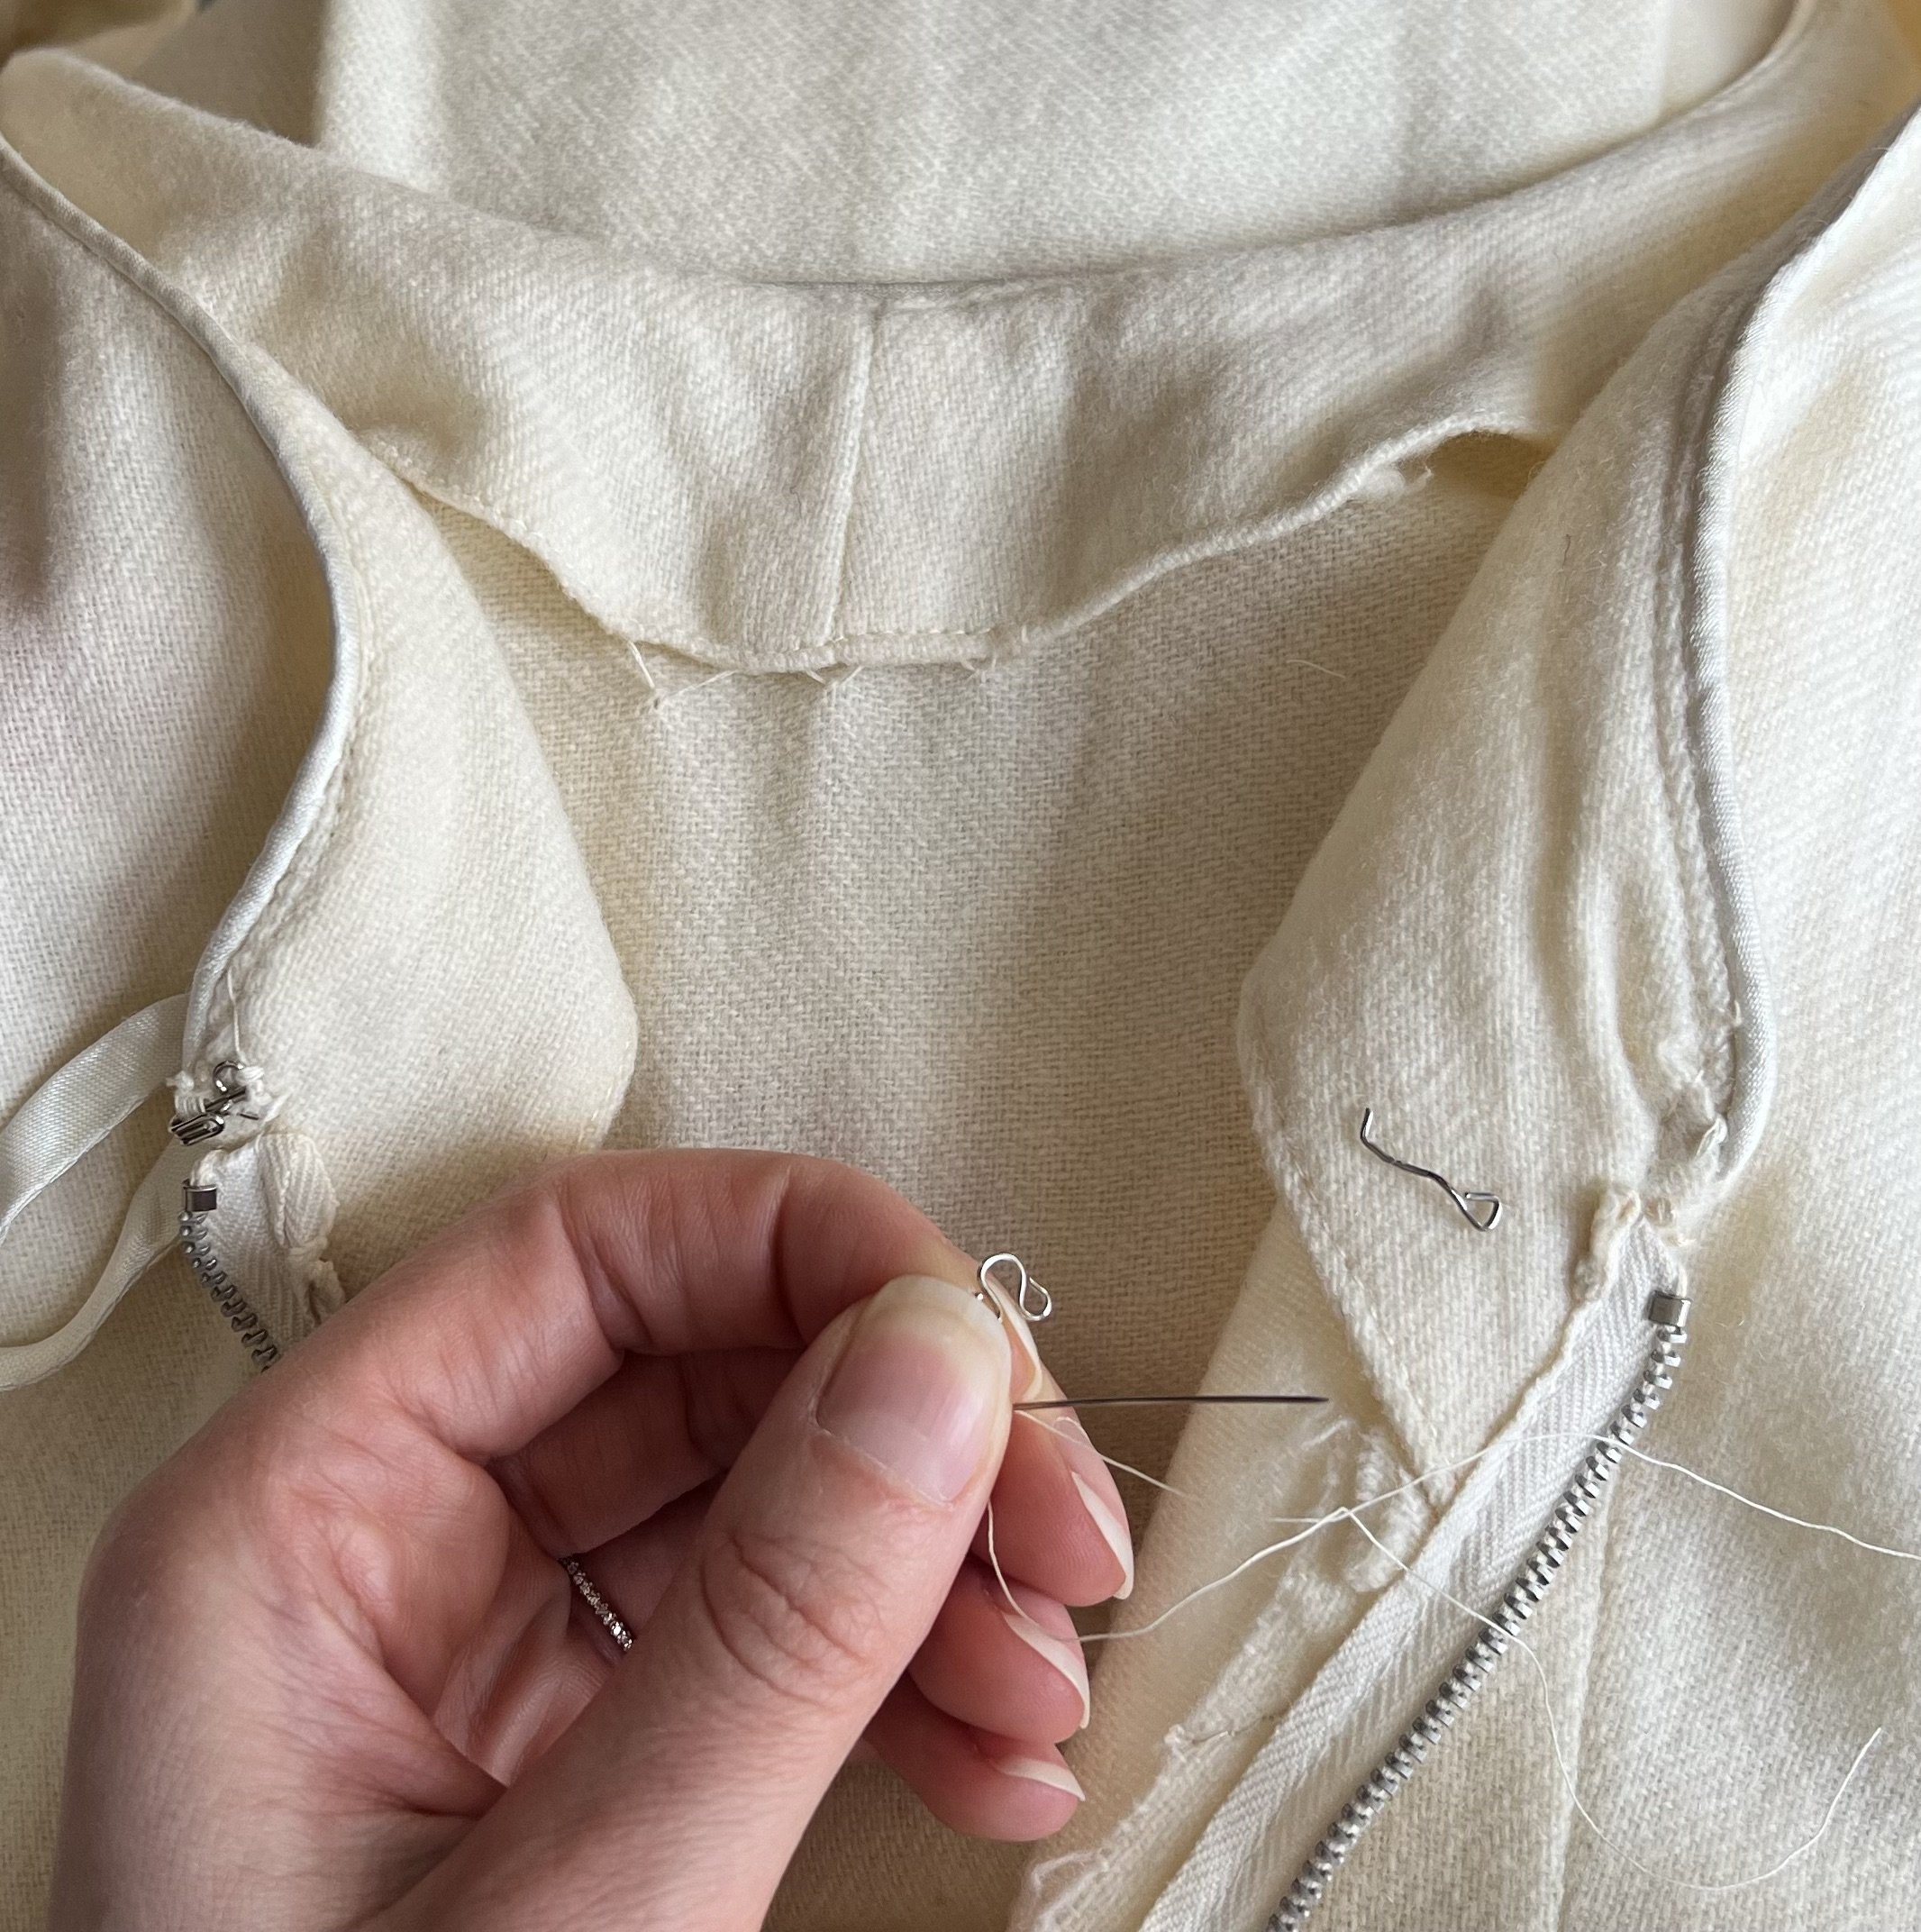
Hook and eye closures are found on a number of vintage pieces, but especially dresses. Usually when I find a vintage piece, either one side to the set (hook or eye) is missing OR the pieces are rusted and need to be replaced. Most sewing stores have these in large boxes that include various sizes to suit your needs. To sew these to your clothes treat it like a button - the two enclosed ends are like the button holes, simple sew through those to fasten to your piece.
Project 4: Reinforcing Sequins
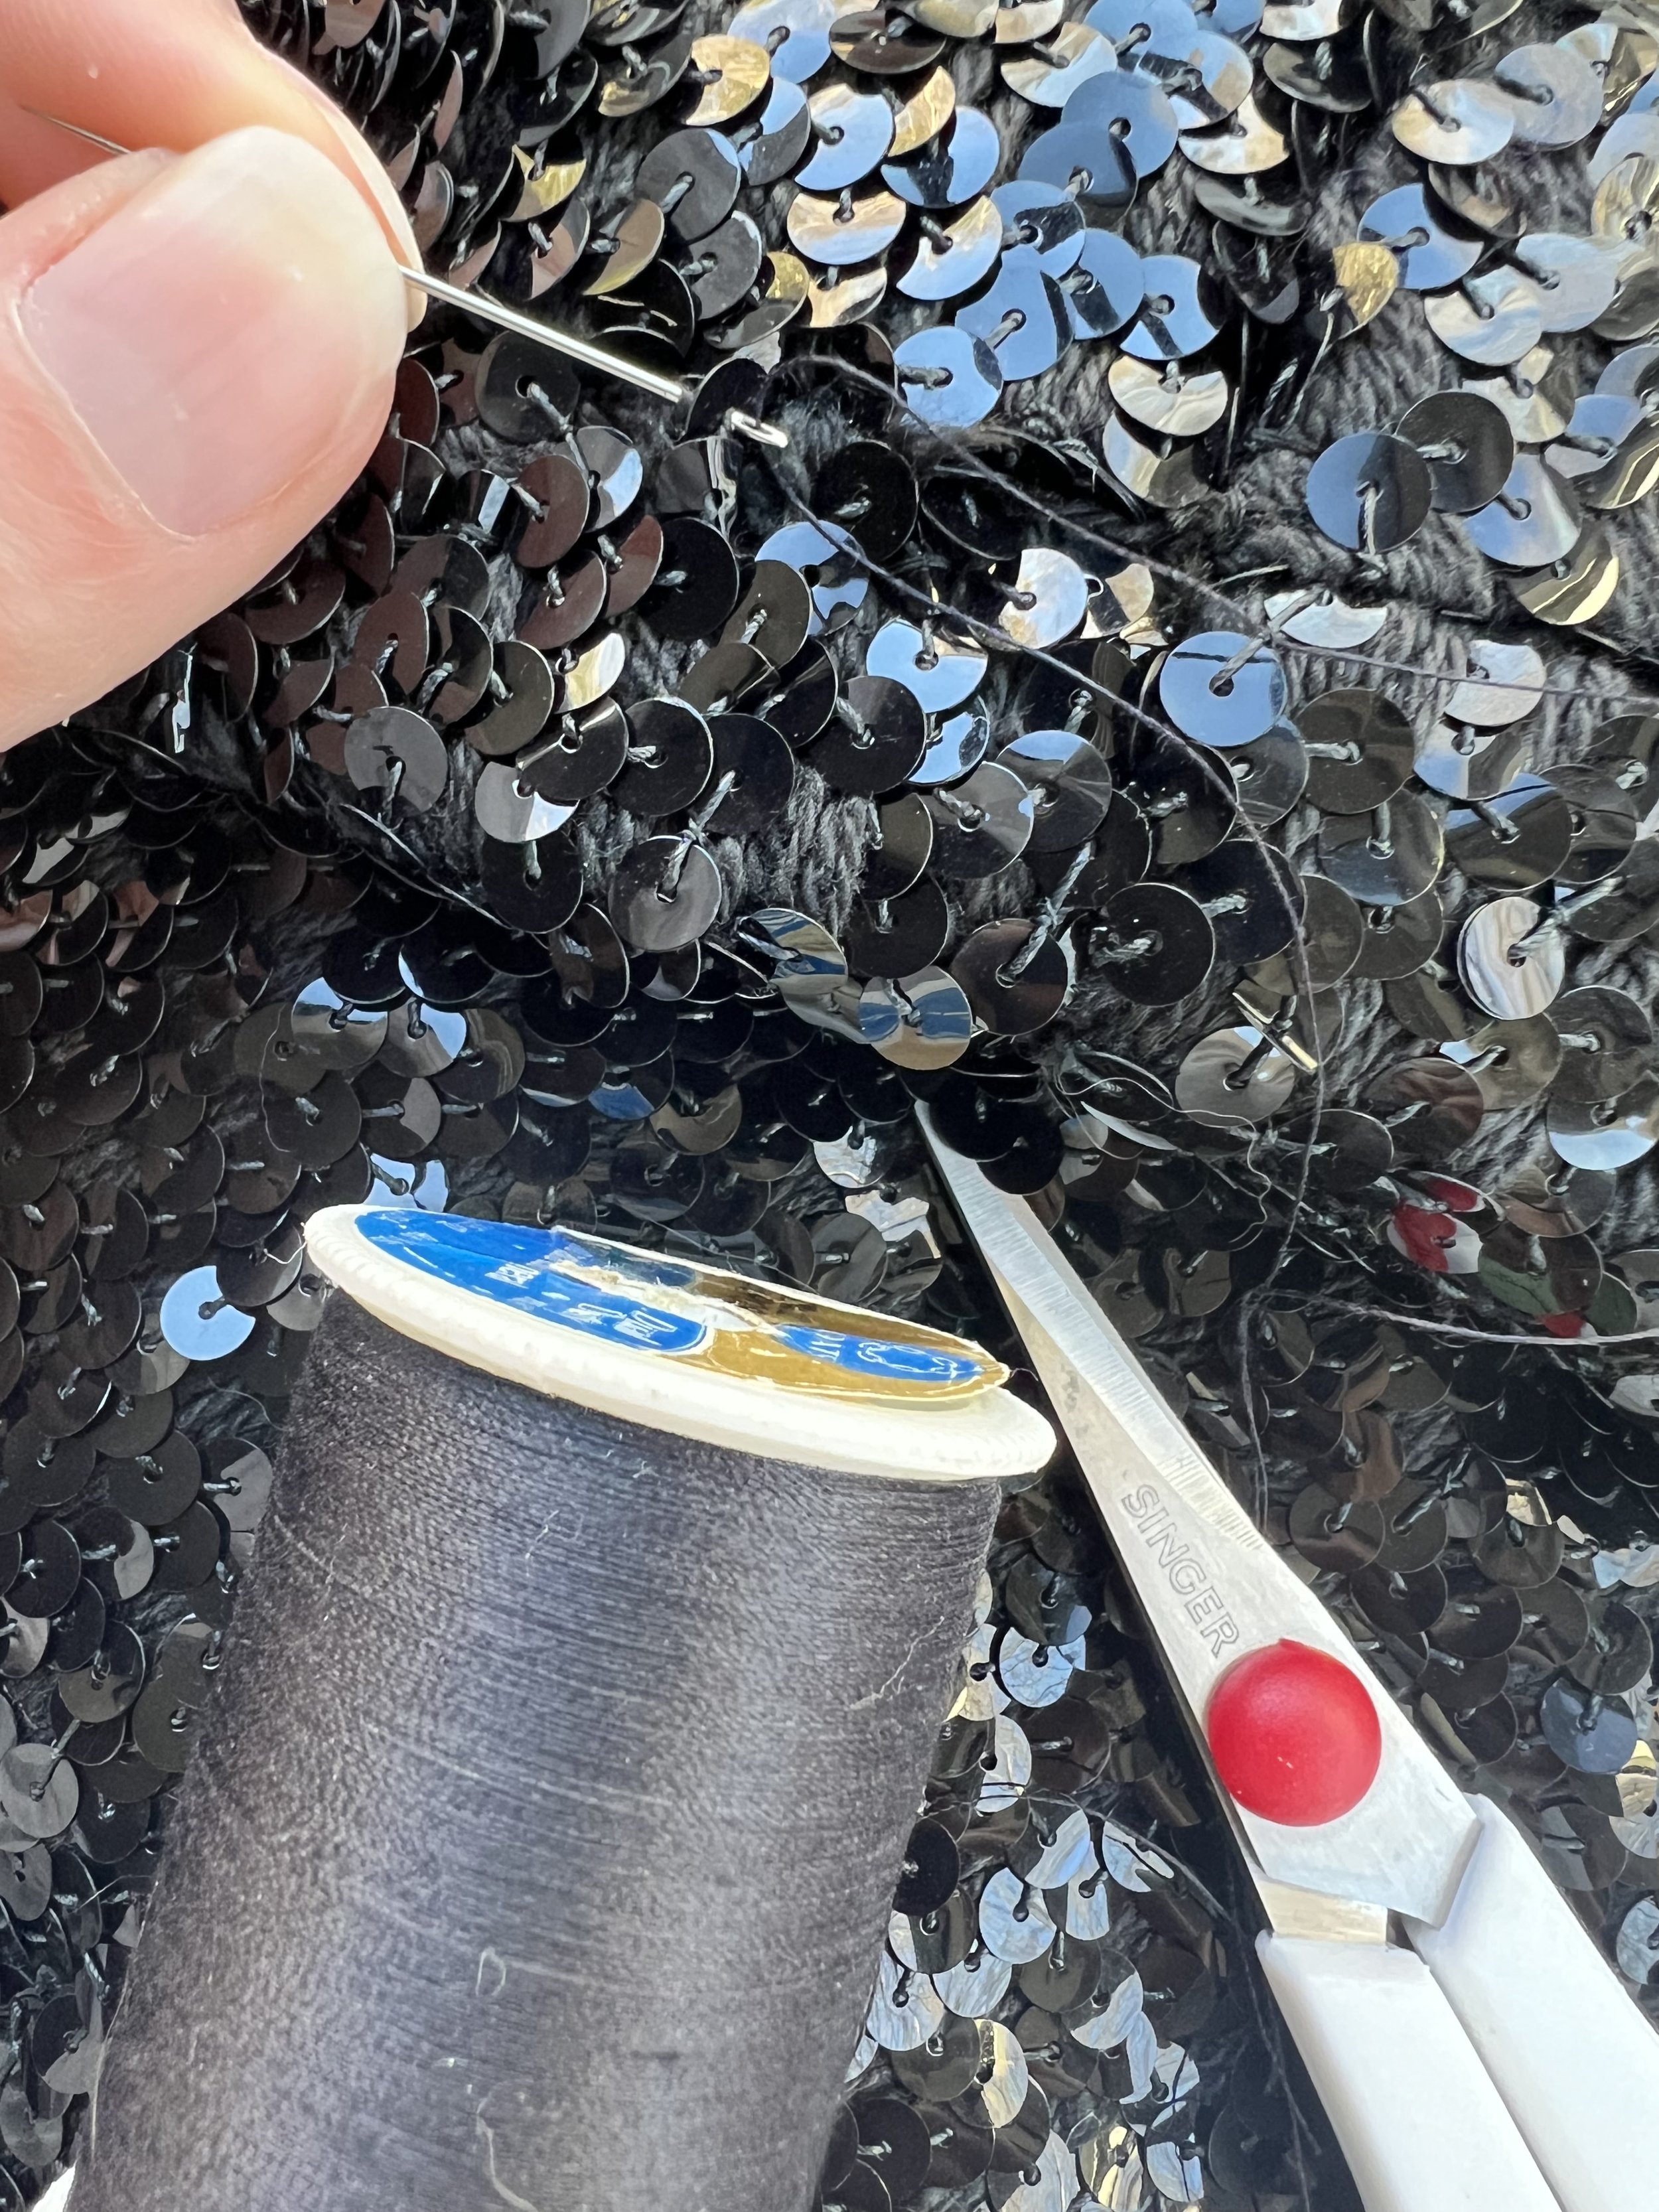
Sequined vintage pieces are probably some of my favorites! But with them comes constant maintenance. This fully sequined Suzy Perette dress is one of my pride and joys, but I need to sew it regularly because I always find that another tiny strand of thread has caused sequins to come loose. Sure, in the big picture loosing one or two sequins isn’t the end of the world, in fact it’s inevitable that it will happen. But it's important to try and find where the loose threads are in order to prevent a whole section of sequins from falling off.
What I do is look for the loose strand of thread - this is probably the hardest part of the whole process. Once found, I simply treat the small sequins like teeny tiny buttons, sewing through the holes to better attach them to the dress. This same method can be used for beaded pieces - though be aware that sometimes you will need a VERY thin needle to sew through really small bead holes.
Project 5: De-pilling & Shaving
De-pilling those fuzzy vintage pieces can make a world of difference in the appearance of your clothes. This method is huge in keeping your knits and weaves looking fresh and pristine. But it can also be useful on a number of different garments where wear spots crop up (like the underarms or where a purse rubs). There are a few different techniques you can use depending on what material you are working with. To learn more about the shaving method, you can check out my blog HERE. To learn more about the combing method you can check out my blog HERE.
Conclusion
Mending your vintage (or even modern) clothes is important for a multitude of reasons.
Mending is a process, because your work is never truly done so long as the garment is in your care. Once you fix one problem, something will eventually pop up somewhere else - it is inevitable. But I think that is what makes vintage clothing in particular - but modern clothing too as that will be vintage one day - beautiful. It has been cared for and loved and worn for decades and generations. All those repairs show a history — a story — about the people who had these garments in the past. Perhaps a special bridal piece made by a grandmother, was lovingly passed down (worn and mended) for successive generations. Or perhaps it was some college students lucky sweater for exams, mended regularly to ensure it could still be worn on those big stressful days. Who’s to say why these pieces were so cherished in the past, but it’s our duty to continue that story.
At the risk of sounding like a broken record, if you take care of those little holes and seam pops before they become a big issue - well as the saying goes “A stitch in time, saves nine . . .” . Besides, it often saves you money and obviously puts your clothing back into commission, making them wearable again. My best advice for all of you is to learn how to mend — just basic mending. And when its a more difficult problem beyond your own abilities, seek help. I often have tasks I need help with and my local alterations lady is awesome (for reference most projects cost between $10 - $30 depending on the complexity). For those of you who are already pros at mending, then the advise I give you is don’t let that death pile get too big!
Happy Mending!
My smallest pup loves to sit in my hanging chair with me. When mending, I highly recommend putting on a good podcast or audio book. It makes the time go much faster.


