Restoring A Vintage Jacket
A Step By Step Guide on How I Restored A Vintage Jacket
Whether you are a vintage clothing seller or just interested in repairing your own pieces, you probably know that a lot of work goes into maintaining clothing so that it can last for years to come. There are a number of different things a garment needs in order to keep it looking its best. These things can vary depending on the type of garment as well as how and what it is made from. Here I will outline how I transformed a drab looking vintage jacket that no one wanted into something that can be worn and loved once again! For your reference, the jacket is a vintage Sears “Fraternity Prep” label. Based upon the tag, its from the late 60s or early 70s. The exterior feels like a form of acrylic.
How It Started
The Jacket : How it looked after being washed.
I am sure it does not come as a surprise that this piece was not found in excellent vintage condition. Like with many of the vintage goodies I find, this jacket was in pretty rough shape (though not the worst I have seen). It was dirty, worn, and it even had little pieces of what I think were wheat embedded into it (yeah . . . pretty gross). Some minor mending was required as well. The biggest issue, however, was the severe pilling throughout the fabric. I spent a bit more on this piece than I usually do for rough shape vintage, but I thought it would be good practice as well as something that I could gift to my husband, making the cost (both monetarily as well as the labor and time that went into the piece) worth it. Unfortunately, the shoulders are a bit snug on my husband — which happens. Alas, at least I can use it as a demonstration piece for you all here, as well as add it to my inventory!
Step 1 - Cleaning
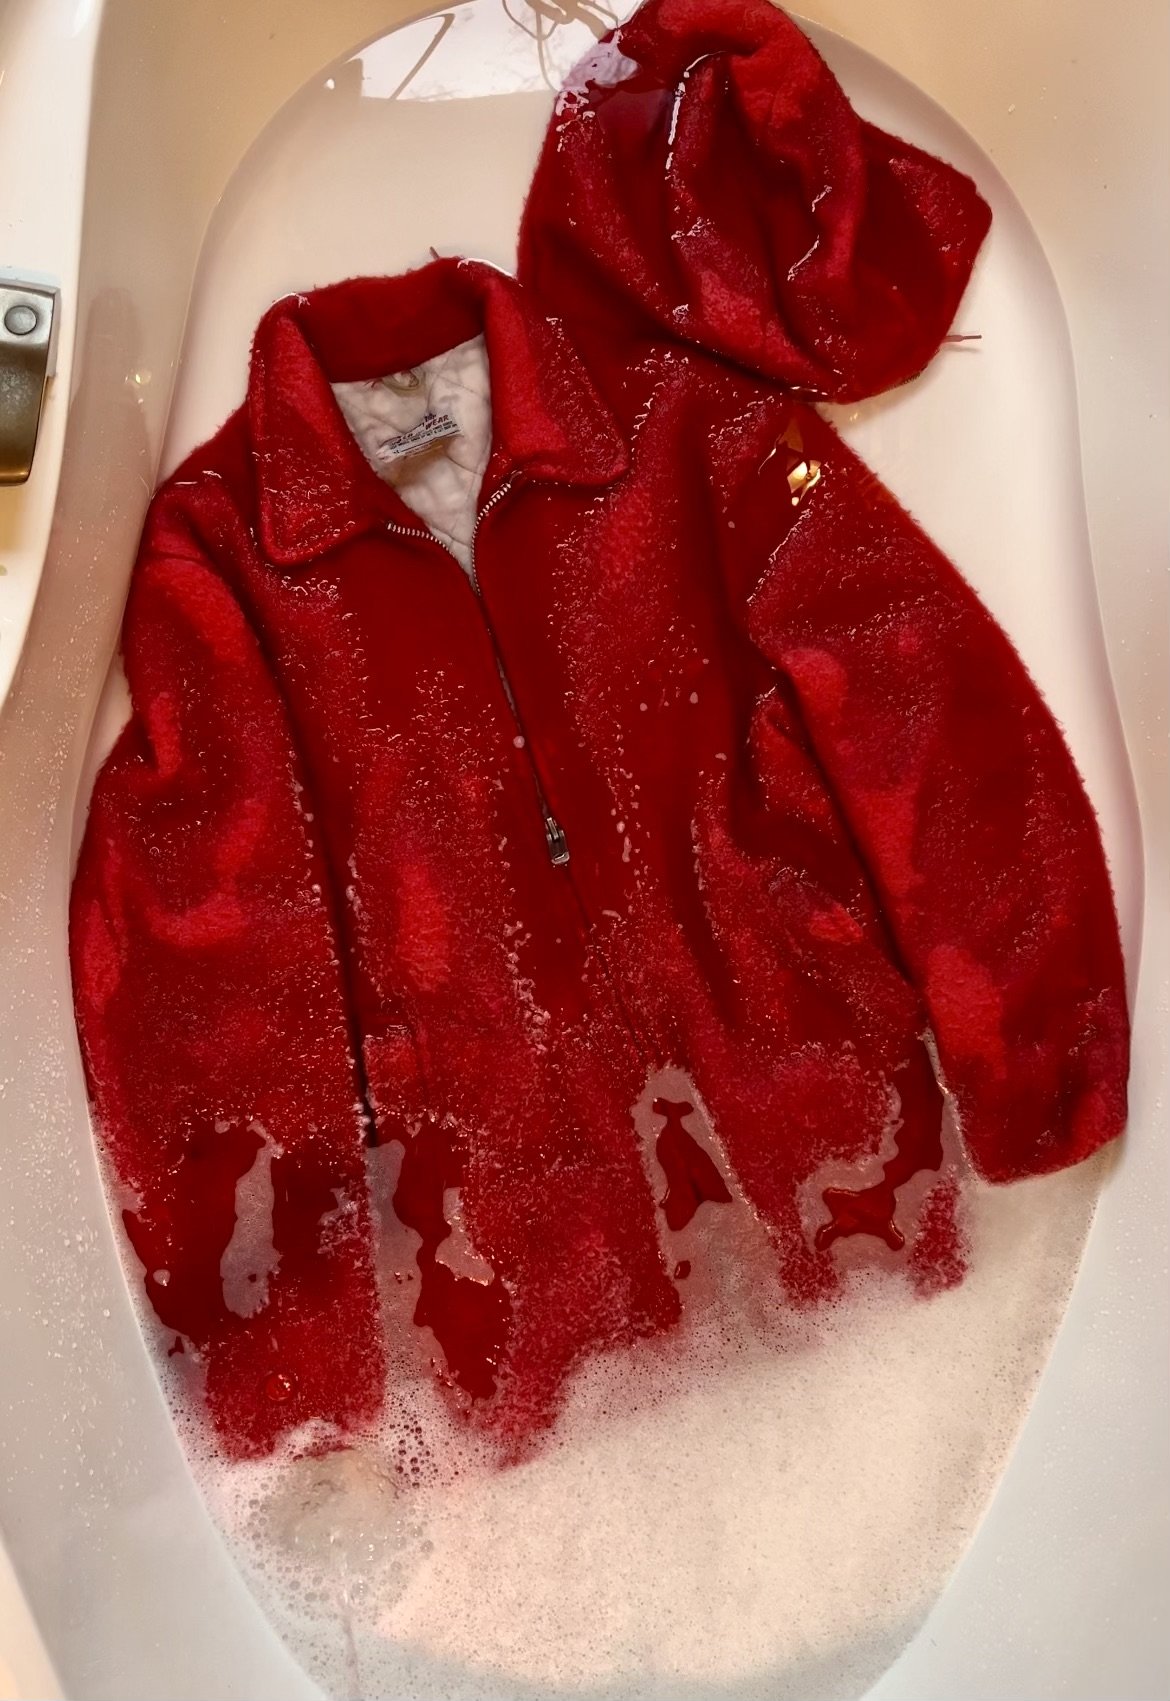
Tub time : The first of many soaks.
The first thing I try to do when I obtain a vintage piece is clean it! This is so important, especially for those really gross garments. Because I cannot tell where vintage was before I get my hands on it, I like to clean it as soon as possible (usually the day I get something, unless it needs to be dry-cleaned) to ensure that I am not bringing anything into my house i.e. silk moths or carpet beetles. This may seem extreme to some people, but considering how much valuable inventory I have, I do not like to take chances! Now this piece is acrylic and, as such, was not cause for major concern. Nonetheless, cleaning dirty (or even if it looks clean!) vintage as soon as you source it is still good practice.
To begin with, I detached the hood and removed any obvious pieces of wheat (or straw or whatever that was). What I use to wash pieces greatly depends on what they are made of and what their issues are. For this piece, since there was no rust stains or mothball smell, I simply started with my mild laundry detergent (though a lot of it). Because the piece is so large and bulky I had to soak it in my tub as it would not fit in my laundry sink. After the piece was fully submerged and I had a good lather going, I let it sit and soak for a few hours. When I do this, I will occasionally come back to agitate the water a good amount. Once a sufficient amount of time passes I simply rinse and repeat for as many times as is needed for the water to run clear. For this piece, I also took the time to use a tooth brush to scrub where it had stubborn marks at the base of the sleeves.
I know some people like to use the dryer or spin cycle on their pieces to remove access water before line drying. I am not one of them unless its significantly newer vintage (circa 1990). For this particular piece, I was concerned about the inner quilt stitching getting strained and breaking. This was already happening a tiny bit just from its age — a common thing unfortunately. But I did not want to make it worse. Instead I simply left it in the tub to drain a bulk of the water before laying flat on my large drying rack. When wet, the garment probably weighed around 20-30 lbs just from water retention. These sorts of items CANNOT be hung on a hanger to dry. Not only would it probably break the hanger, but also it can damage and stretch the garment — especially around the shoulders.
Once dried (which took quite a while), I hung the piece and steamed the inside lining to make sure it wasn’t wrinkled.
Step 2 - Removing the “Pill”
A zoomed in look to what the jacket looked like.
PILLS are little clumps of fabric that form on and are attached to clothing. One tends to find these present around places that rub together like underarm areas. However they can form all over a garment, especially if it has been around for awhile or washed numerous times. When I acquired this jacket, it was probably one of the worst examples of a “pilled” piece that I have ever seen. I just knew I had to see if I could fix it up. Like with many vintage pieces, sometimes you just have to risk it. I could see the potential for this piece and was worried that if I had not picked it up, it would have ended up in a landfill!
Common Tools Used for De-Pilling
1) De-pilling or Cashmere Comb
My de-pilling or cashmere combs and brush.
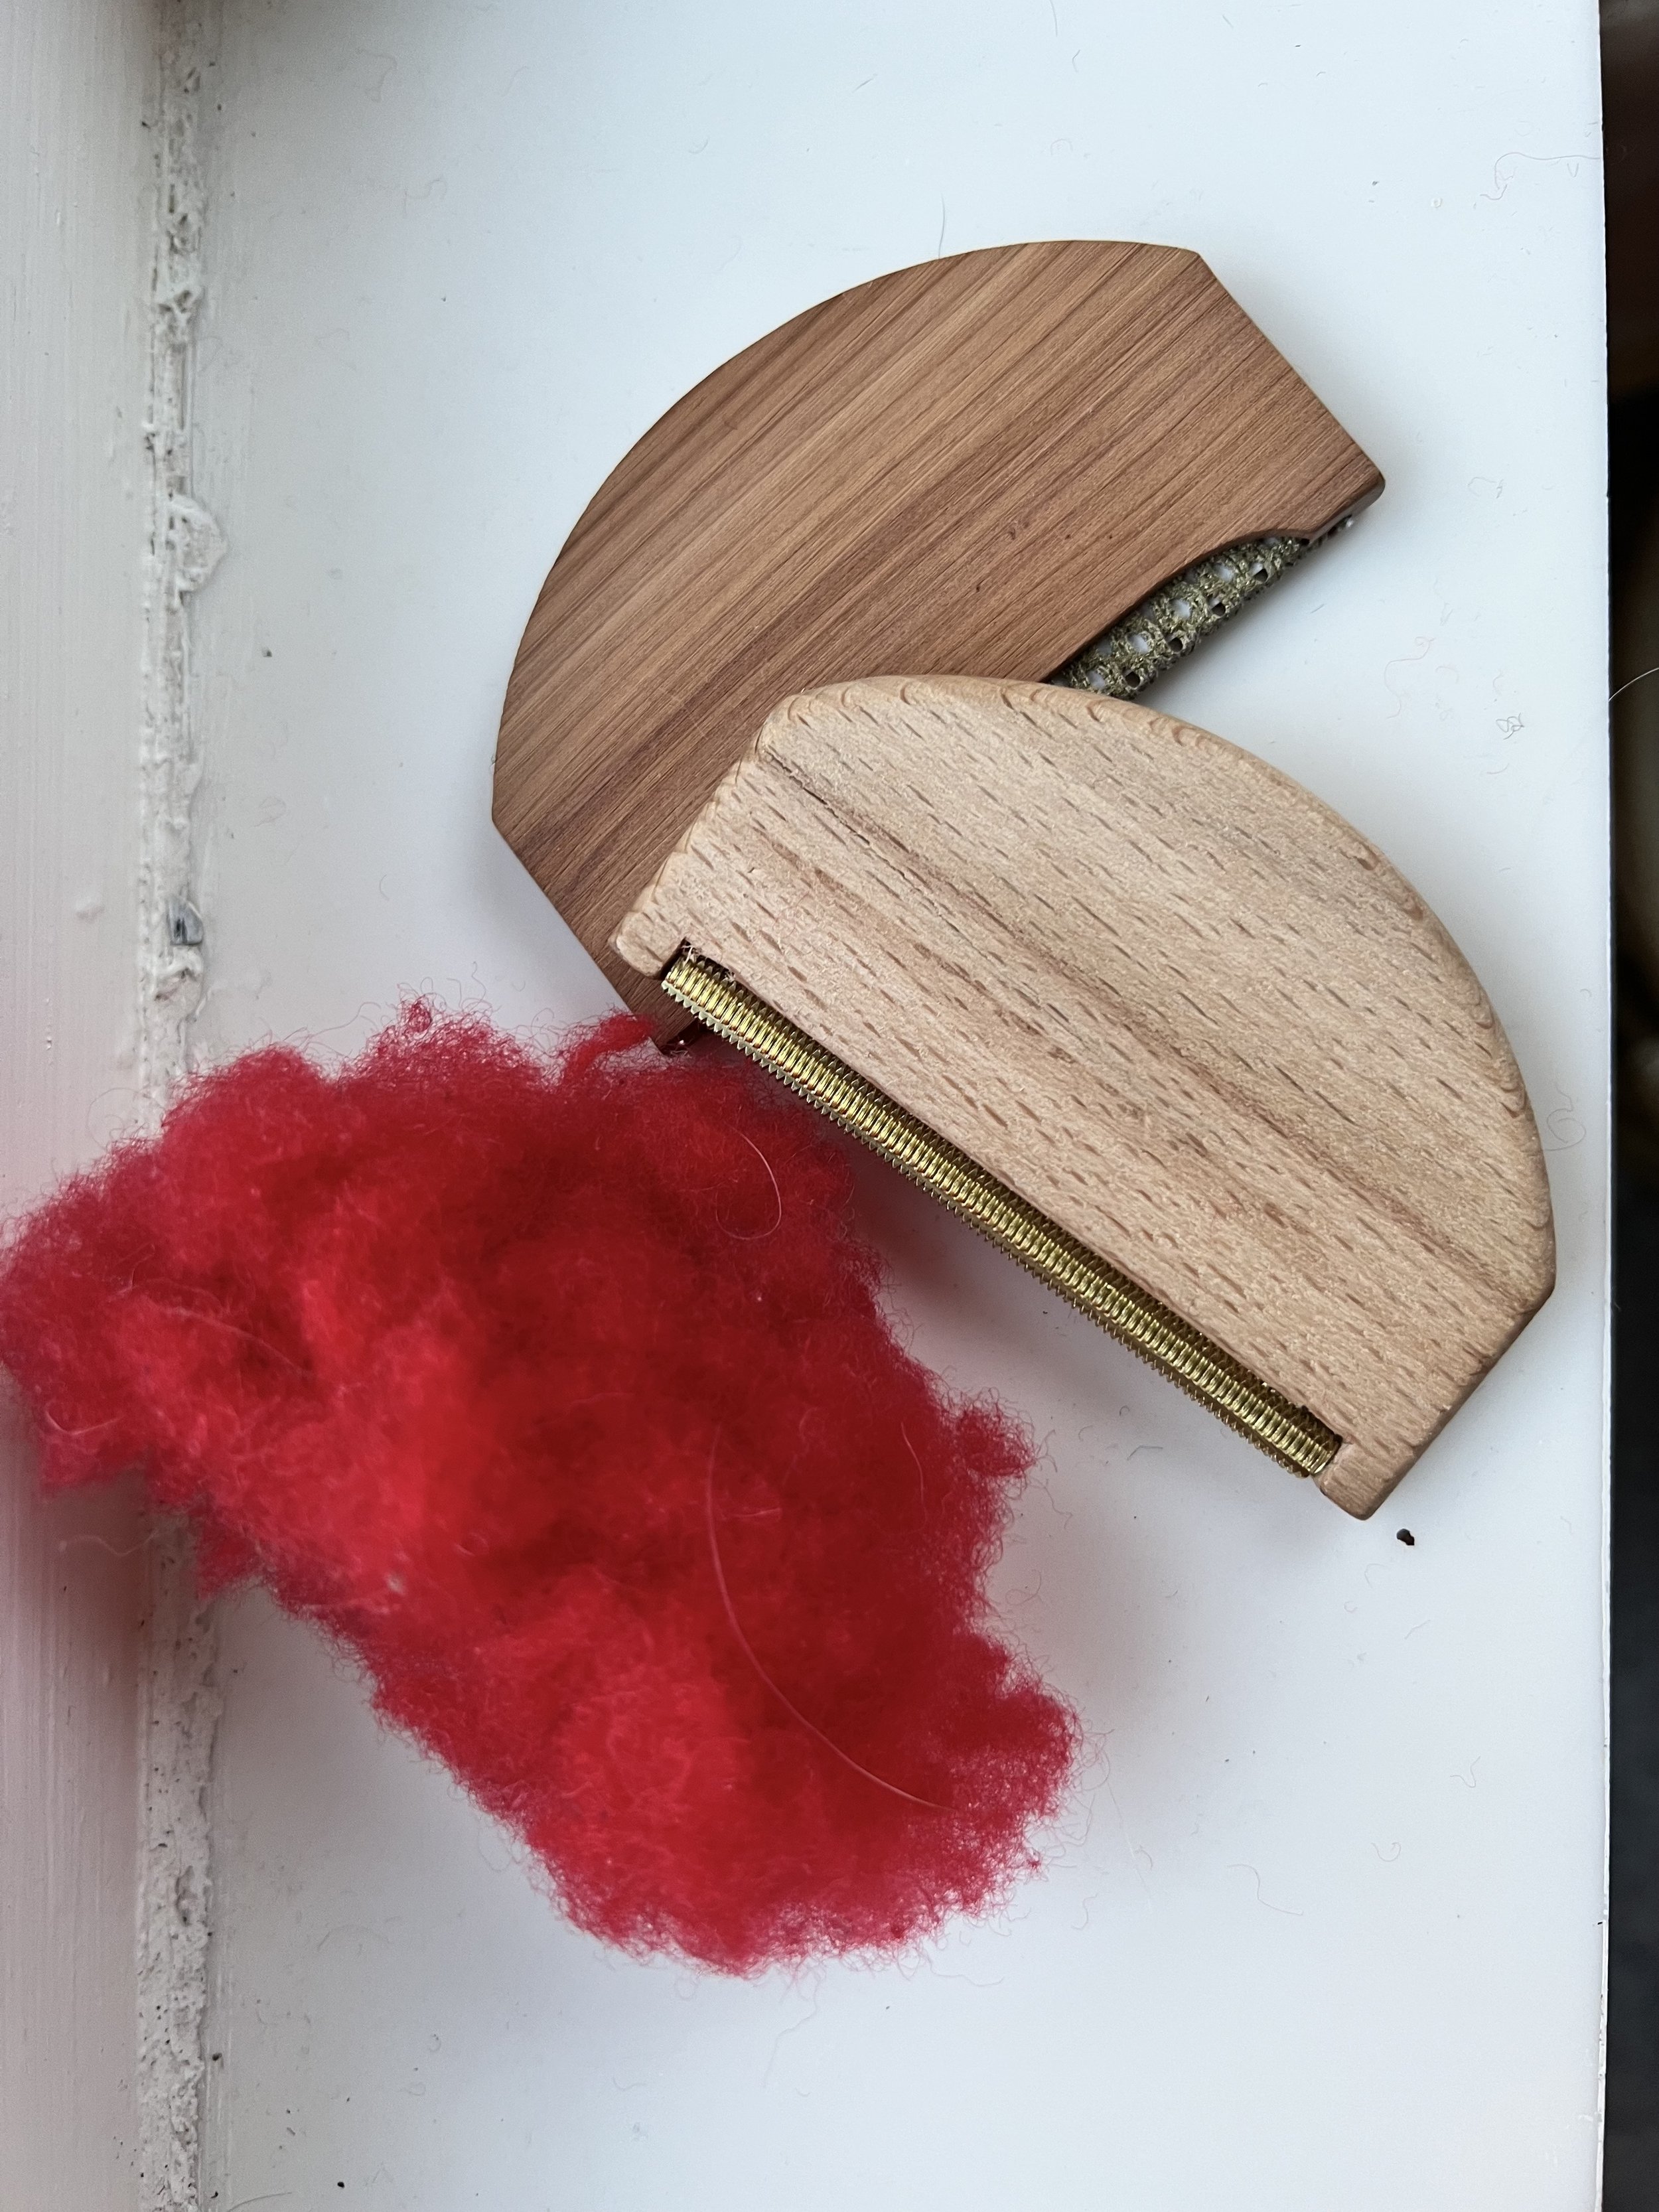
For this particular project, I chose to use the de-pilling comb, also referred to as a cashmere comb. There are many versions and types you can use, some of which come in little kits online. You can find an example of this HERE. My kit included two types of combs. One has teeny tiny metal teeth, the other has more of a sand paper-like abrasive. While these are very similar when used in practice, there are subtle differences. I personally prefer the metal toothed comb because I find that it acts more like a comb in that it moves through the fiber rather than pulls on it like the abrasive sand paper-like one. But either one can work wonders and I generally prefer to use either of these combs over other methods for fuzzy fibers.
2) Mechanical Sweater De-Piller
These can be really handy tools when you need something done quickly. It is essentially a mechanical razor for your clothing. You simply run the razor over the pills on your garment and it just cuts them right off! The problem with these is that it is REALLY easy to push too hard and cause it to cut a little hole. I have done this more times than I care to admit and have stopped using them for years now because of this. However, I know of many (likely more steady-handed) people who swear by these little gadgets. They particularly shine when used on t-shirts or other similar fabrics, where you really don’t want to be pulling at the weave of the fabric with a comb. You can find one example HERE.
3) Old razor blades - read my shaving vintage blog HERE
In practice, this is very similar to the above mechanical de-piller. You simply take an old razor and “shave” the pills away. While it may take a little longer than using the mechanical one, I find that it offers you much more control. However, there are a few reasons why I did not choose this method for this particular project. First, the amount of pilling and matting on this jacket would have required a lot of really heavy handed pushing on the razor blade. I was worried that I would both break the handle as well as take off unnecessary amounts of the fiber in order to give it a good look. Additionally, I personally use a double edge safety razor and I have never really figured out how to get the correct angle on the clothing with that. If you are using this method, I believe that a 3 blade disposable razor would likely be the better option as the angle is much easier to work with.
4) Fabric Brush
This is a great tool to have in your repertoire for all sorts of clothing and accessories. For this particular project, this fine bristled brush was a great tool to finish the coat. Though they are also wonderful tools to use to dust off old hats and brush fur or fuzzy coats that you cannot wash or send to a furrier after each use. You can find an example of my brush HERE.
*Please note I am not being paid by any of these companies to endorse their products here. They are just examples of ones I have used in the past and these links are simply here so you can find the right tool for you and your vintage piece!
How to De-pill :
Me trying to demonstrate how to de-pill while also taking a photo . . .
Before de-pilling any piece it is important to first determine the direction the fiber is going. If it does not have one naturally, pick one and stick with it. For this jacket I noticed that there did not seem to be a particular direction the fiber wanted to lay so I simply chose to work from top to bottom.
The tool I started with was a fine metal toothed de-pilling comb (you can find one here). Its always important to first test your tool in an inconspicuous area to make sure it works properly and isn’t pulling the fiber in the wrong way. The underarms or inside of a collar can be great places to test.
After my test spot, I began working on the front top of the jacket, at the shoulder seam and brushed down in one direction repeatedly in one spot until it was smooth (about 10 times). I then moved across and down until the whole panel was complete. At this point, I lightly combed down the entire panel in one stroke and in one direction to insure that any loose pills (or fuzz) were removed. I began on the back panel in the same manner, starting at the top shoulder seam, working my way down and repeated until the coat was complete.
The comb I used and some of the pills (or fuzz) I collected.
Please note, that when doing this motion repeatedly you may need to take multiple breaks, especially since you sometimes need to press down a little bit in order for the comb to do its job. This motion can get really tiring, especially if you have wrist issues! It took me about 4 days to complete this coat.
You may recall that I mentioned some chaff or what appeared to be wheat on this coat when I found it. While I had removed the large pieces before washing, I could not get to the smaller, embedded pieces until this step. The process of combing the coat allowed for the fibers to essentially loosen. They had been so matted beforehand it almost looked like felt and as such there were little tiny seeds embedded inside that I could not remove until it was combed through. But after a lot of work, I got there and carefully extracted these little annoying seeds.
The fuzz you collect can be a bit ridiculous.
Throughout this process, you will find that there can be a significant amount of fuzz that piles up from your combing. Do not be too alarmed. While yes, this process is somewhat destructive in nature, it allows you to extend the life of what would otherwise be an unsightly and unwearable garment. Now, I do not recommend doing this all the time, especially if you are using a mechanical razor, because at some point the fabric will wear thin. But it takes a lot to get there. Remember, everything you do to a garment is destructive when done repeatedly, from washing to wearing, or even hanging for decades on a hanger. Just be mindful and repair where you can to extend its life.
Step 3 - Mending
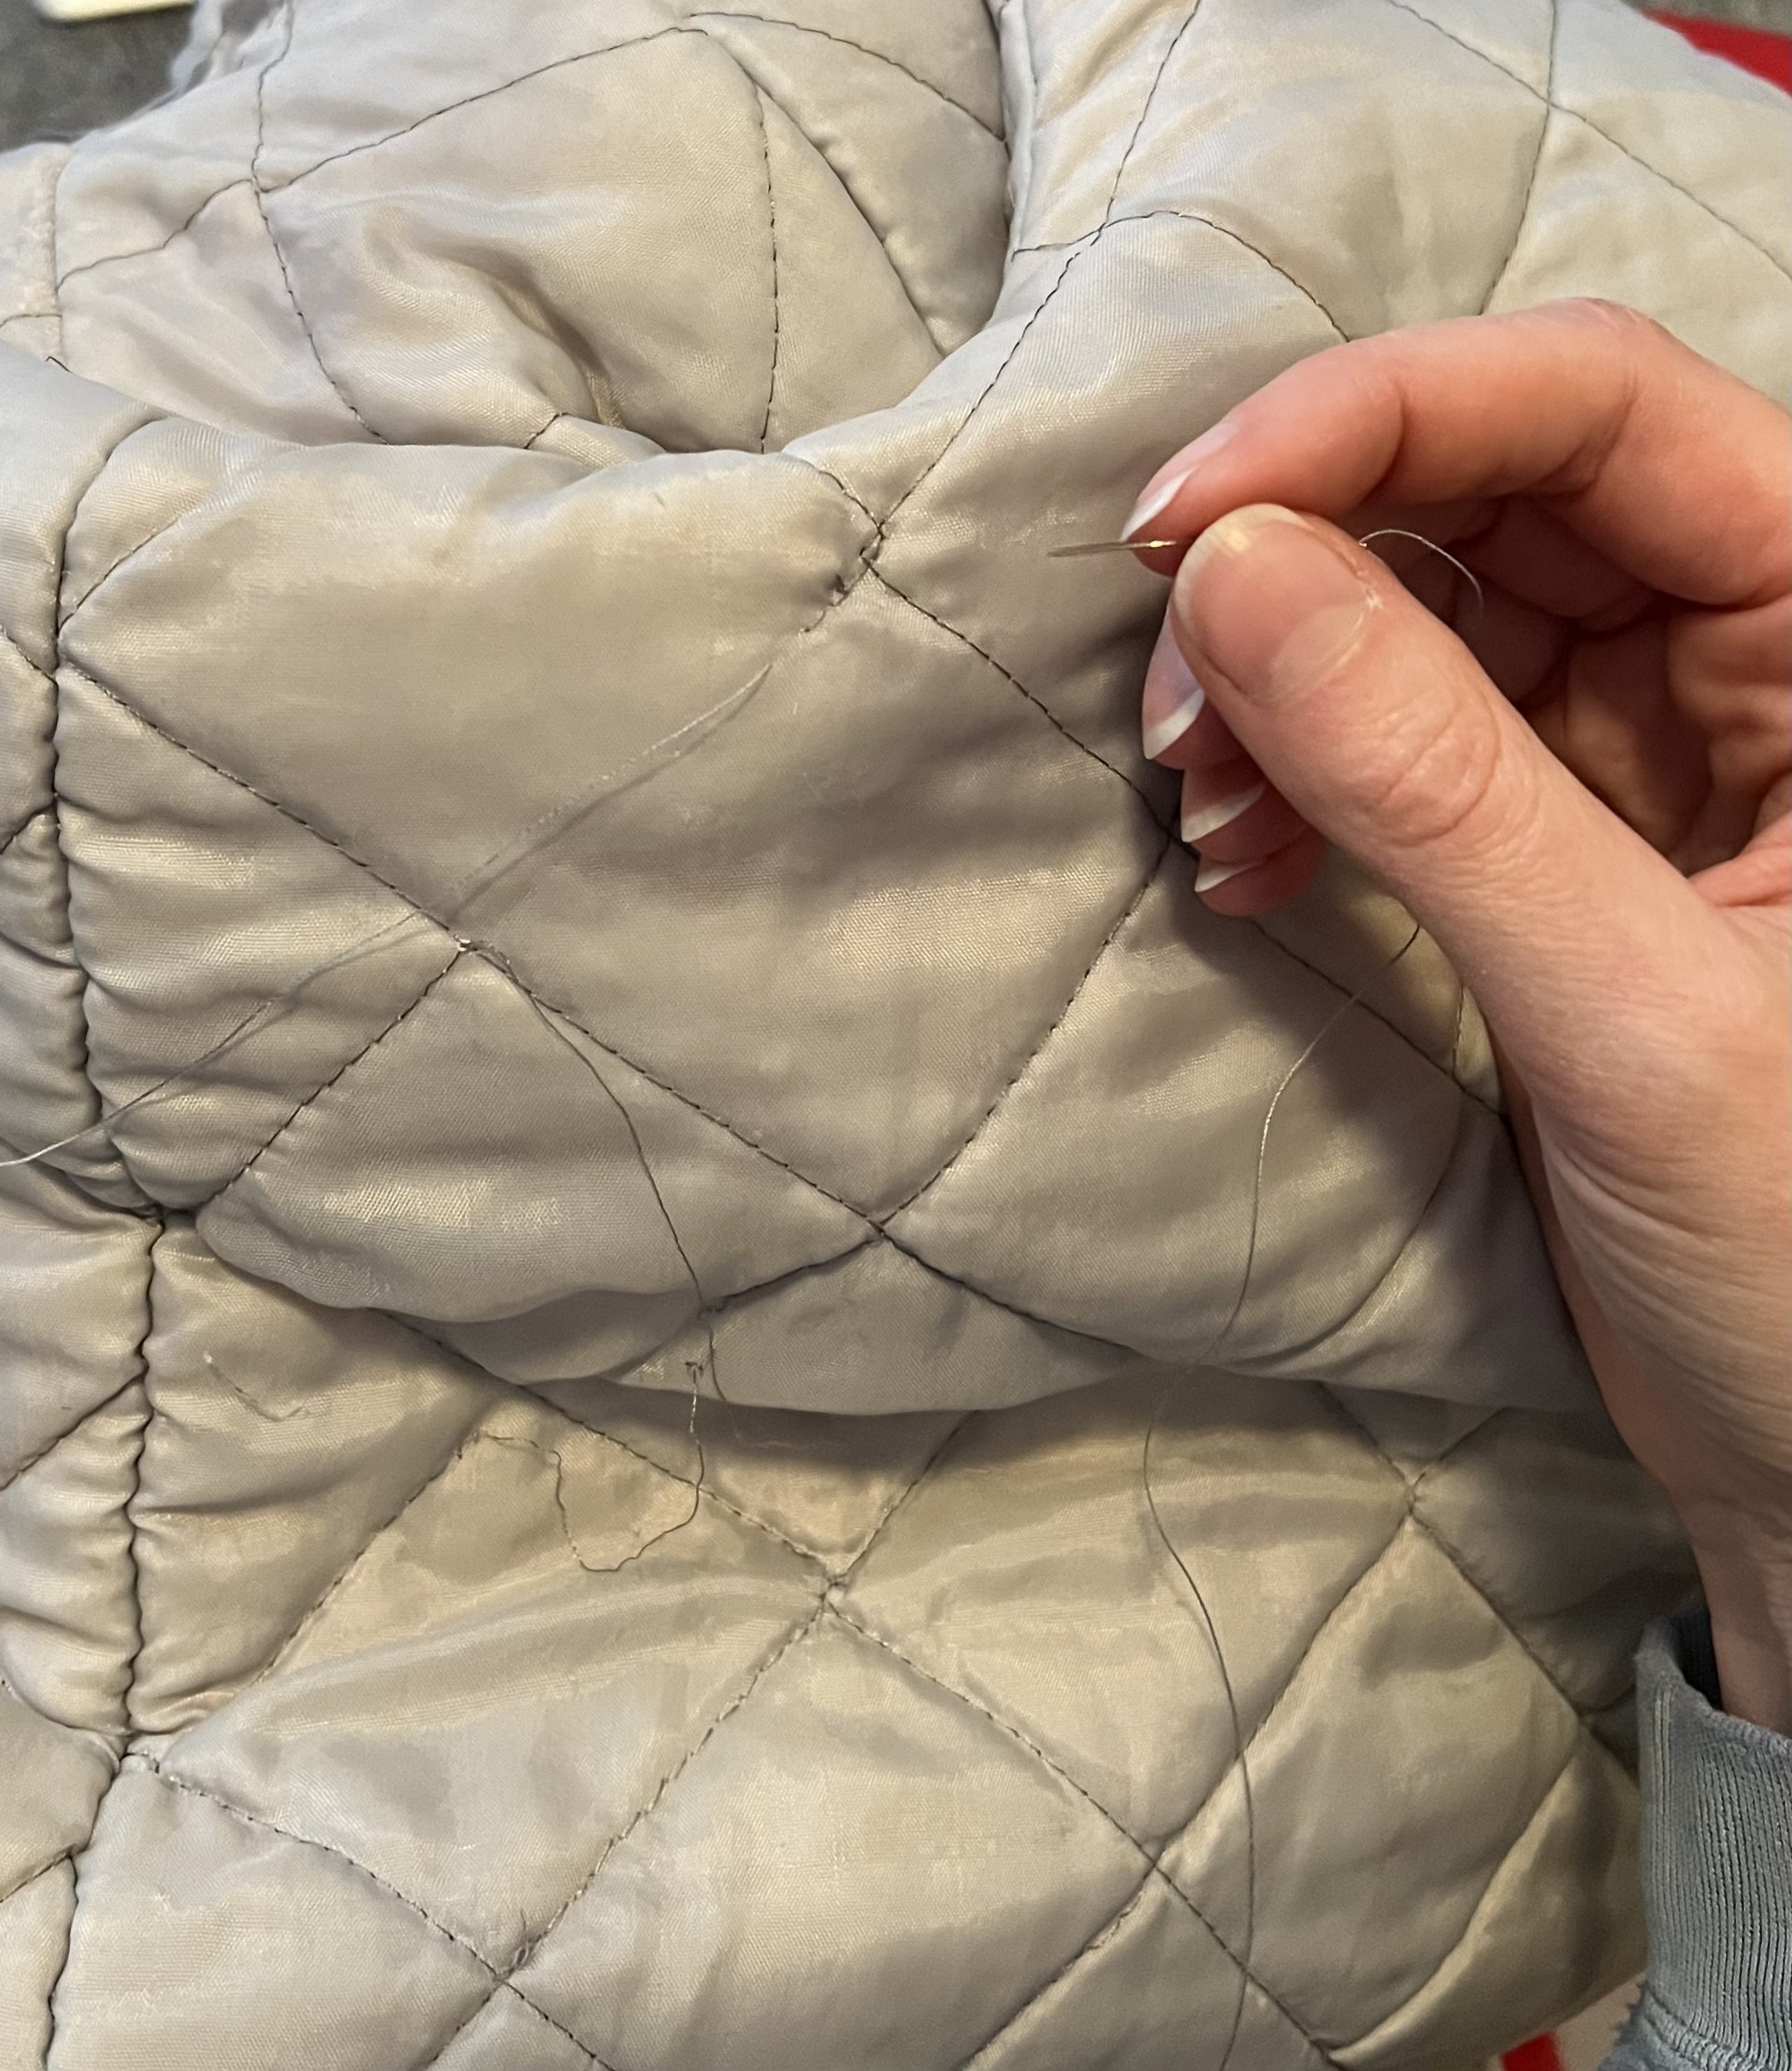
Some loose threads inside the quilting that needed to be reinforced so as not to continue to unravel.
Always mending . . . most of the vintage pieces I come across need at least a tiny bit of mending, usually a seam pop or a new button. I try to do smaller projects on my own, but sometimes need to pay someone for mending projects that are beyond my abilities. This particular coat only had minimal flaws (just a few stitches here and there to ensure the quilting was secure on the inside) as well as a minor pocket repair. Otherwise it was in pretty good shape!
Step 4 - Brushing
It may seem trivial, but I think it’s always important to finish off your piece with a good brushing. I use a soft bristled brush, similar to this one. Brushing from top to bottom (or whatever way your fiber is going) ensures the fibers are all going the same direction, giving it a more polished look. But it also ensures that you remove any access fuzz or lint that you may have missed when combing.
The Finished Product
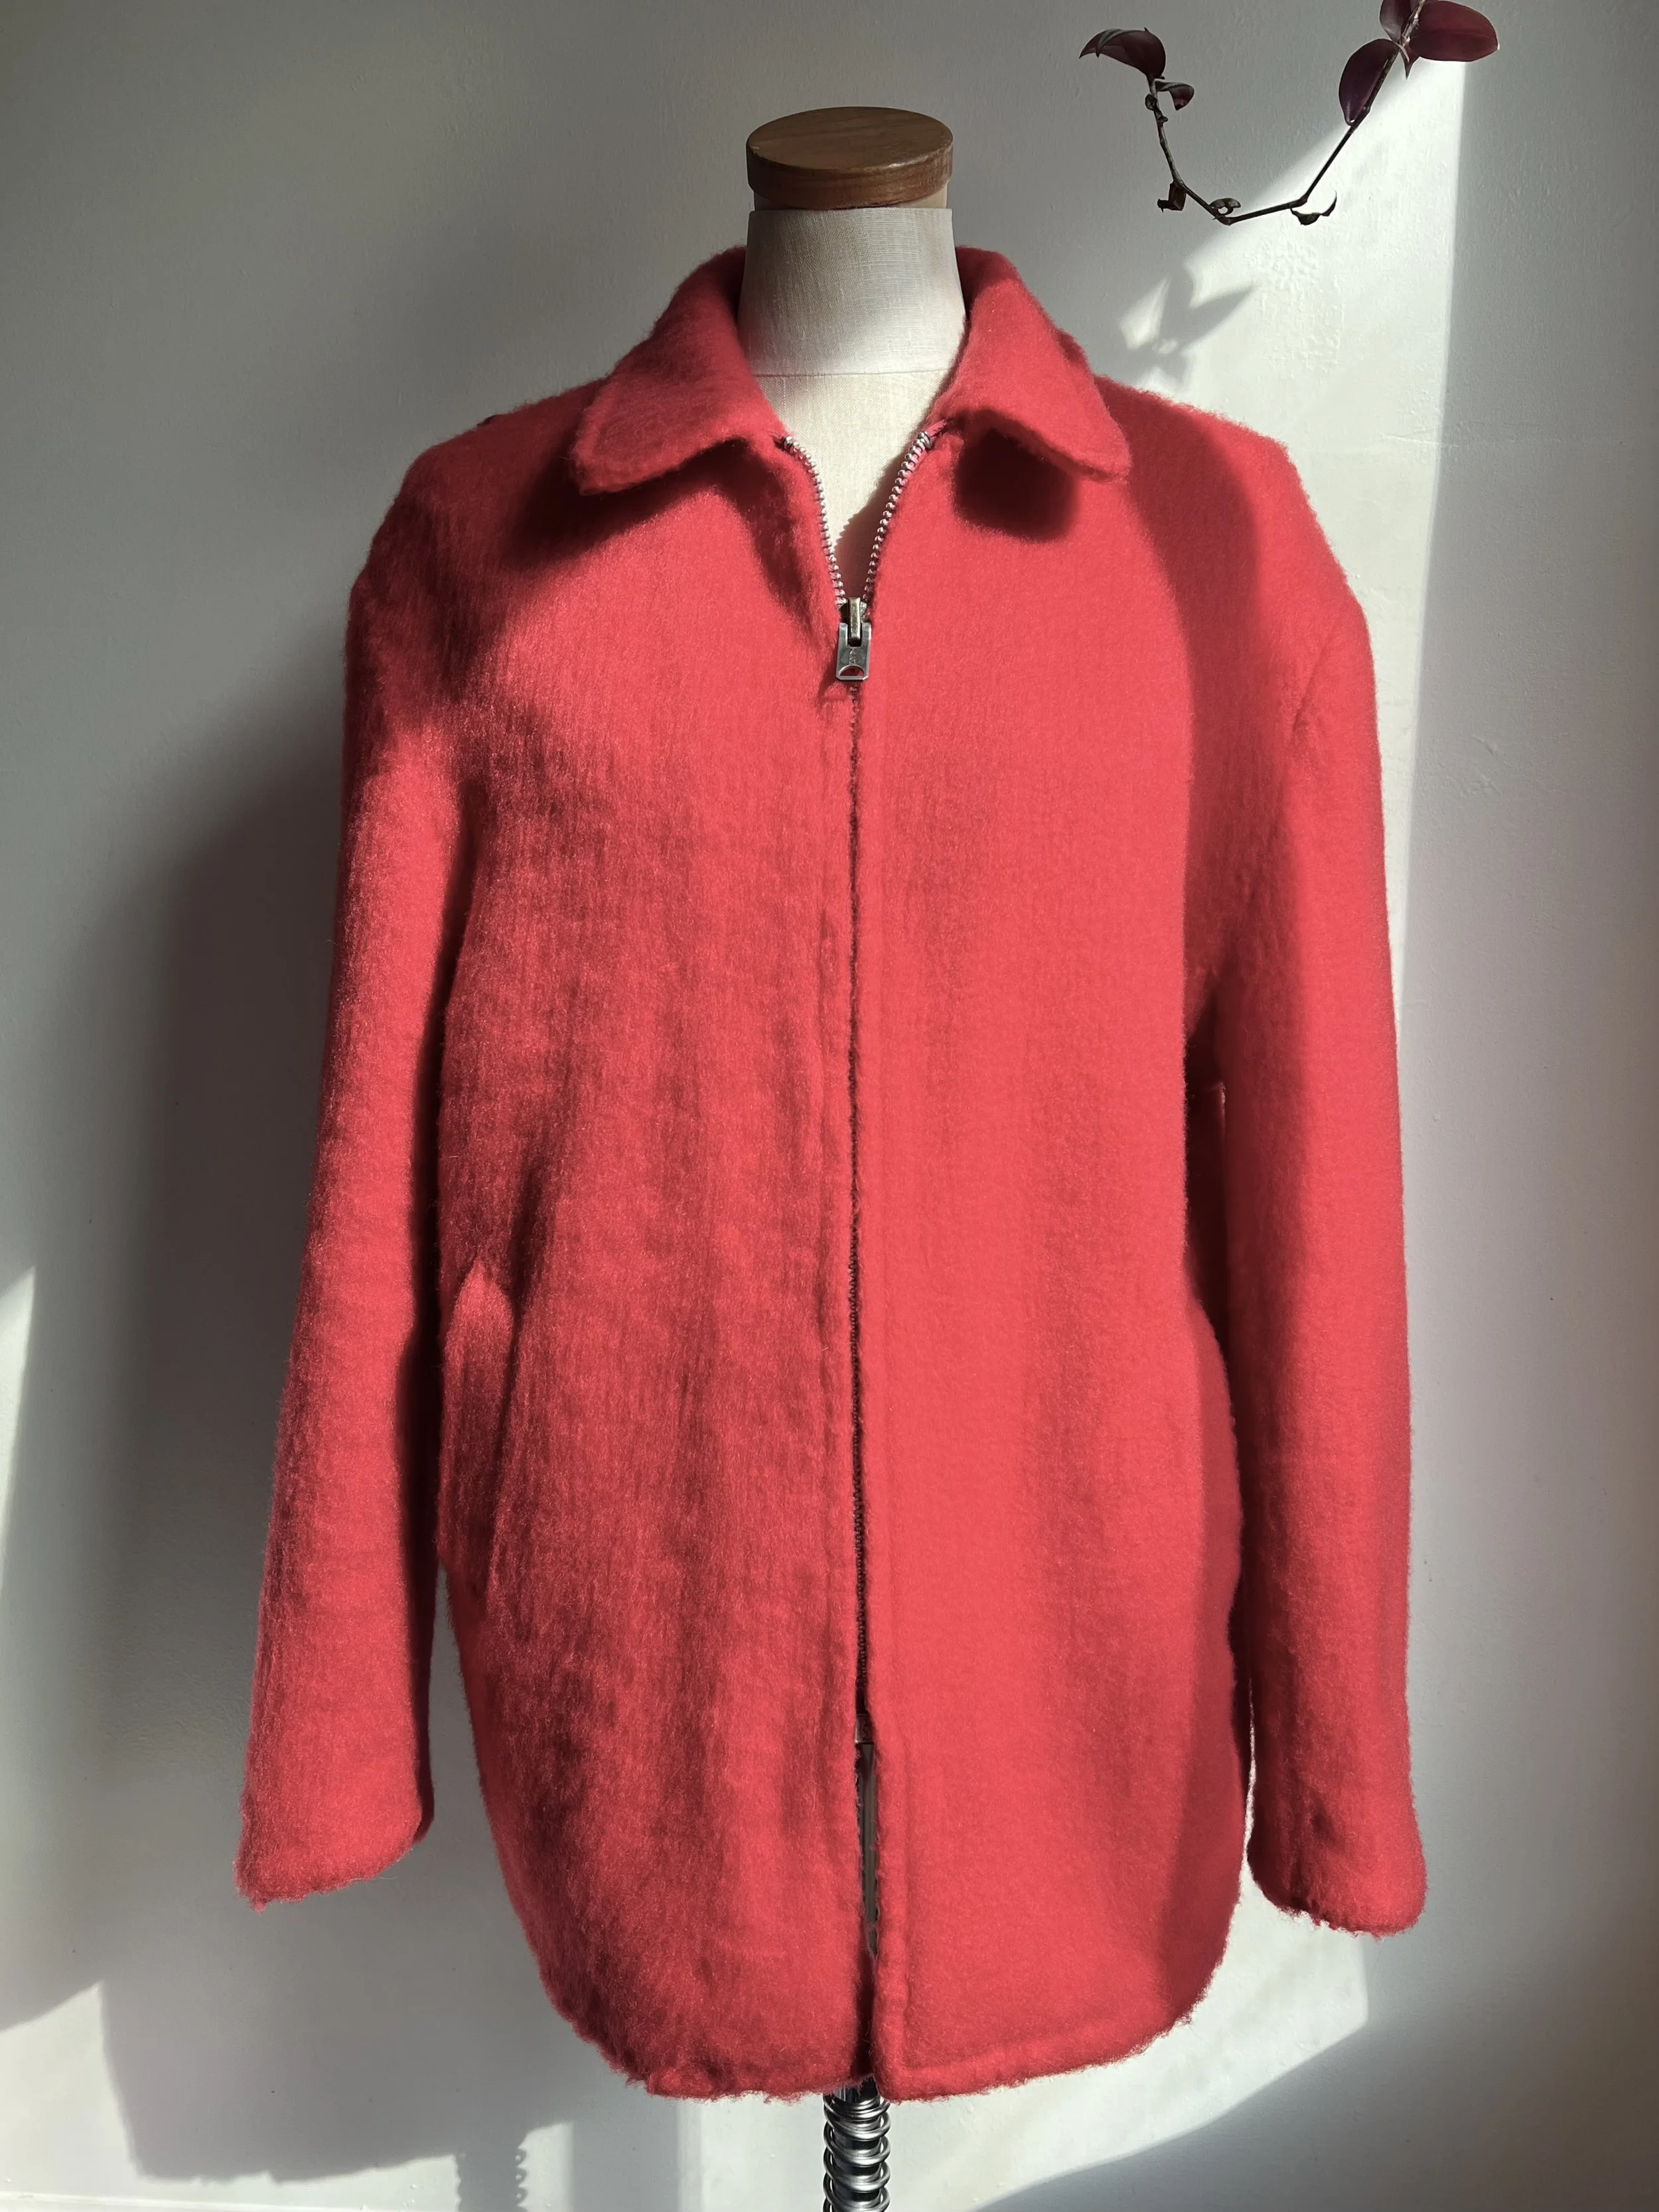
The finished look has a great “fuzzy” effect, almost like mohair!
While this was one of my easier projects, it did take a significant amount of time to complete. The biggest hurdle for this piece was, unsurprisingly, the de-pilling. But the effort and time spent is worth it. This jacket looks so much better than it did when I first found it. And there is something to be said for the reward in seeing something transform right before your eyes through your own hard work!
I hope this helps inspire you to get started on your next de-pilling project! I know it can be daunting when you first start, but just put on a good podcast and I promise you wont be disappointed!


